
DIY Macramé Wristlet Keychain
(video tutorial below)
WHAT’S INCLUDED
- 2 long cords (98″ each)
- 1 short/finishing cord (note: there are 2 short cords in your kit, you will only use 1 of them)
- Key ring
- Inspirational charm
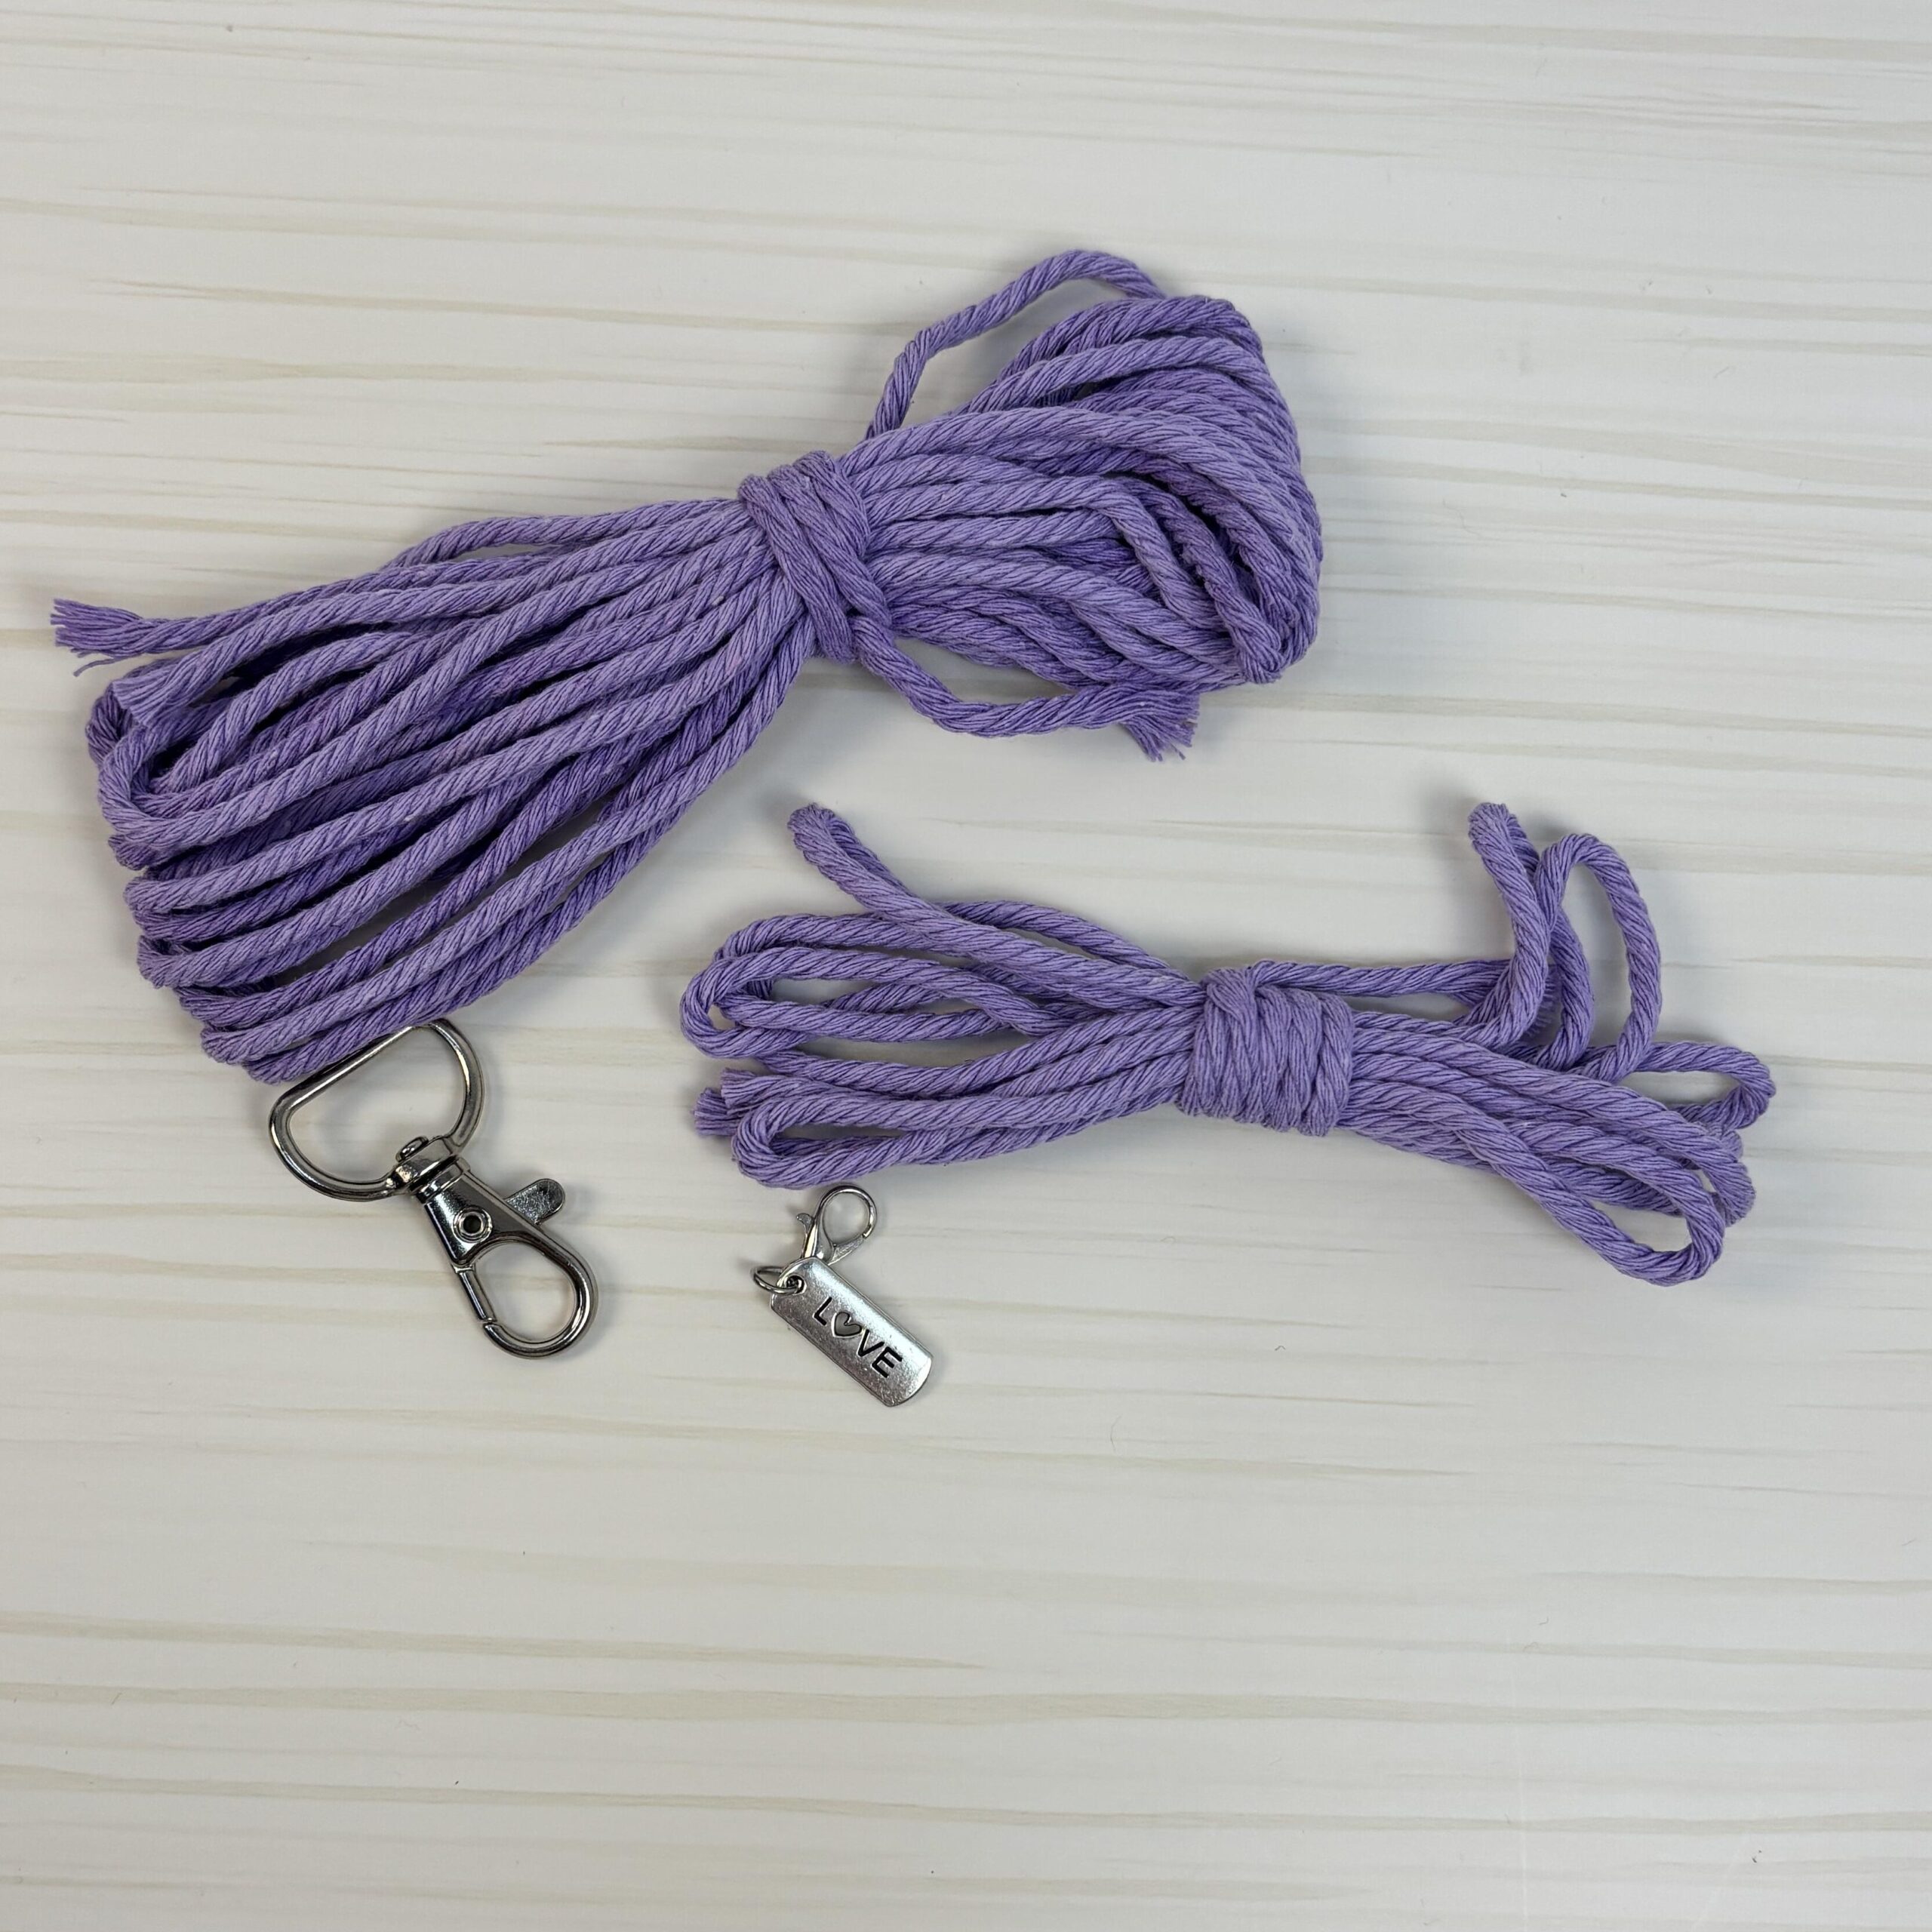
You’ll also need: Scissors and a small piece of tape
LET’S GET STARTED!
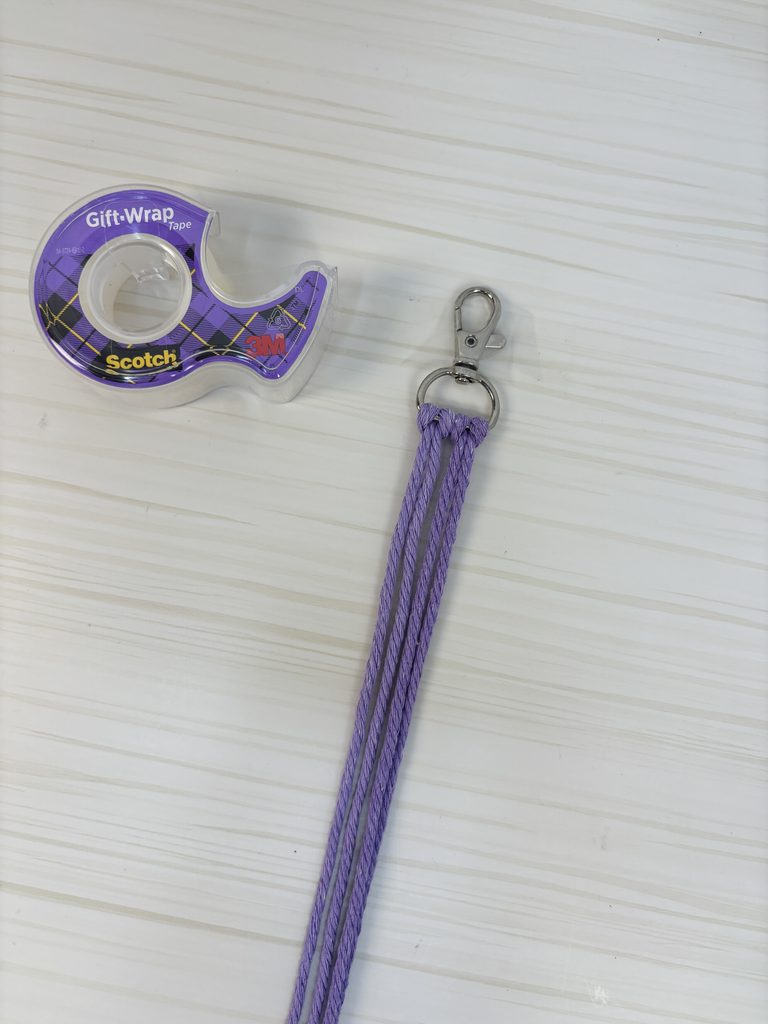
1. Attach the cords to the key ring
note: These cords are folded off-center, not in half — this gives you 2 shorter center cords and 2 longer outer cords to knot with.
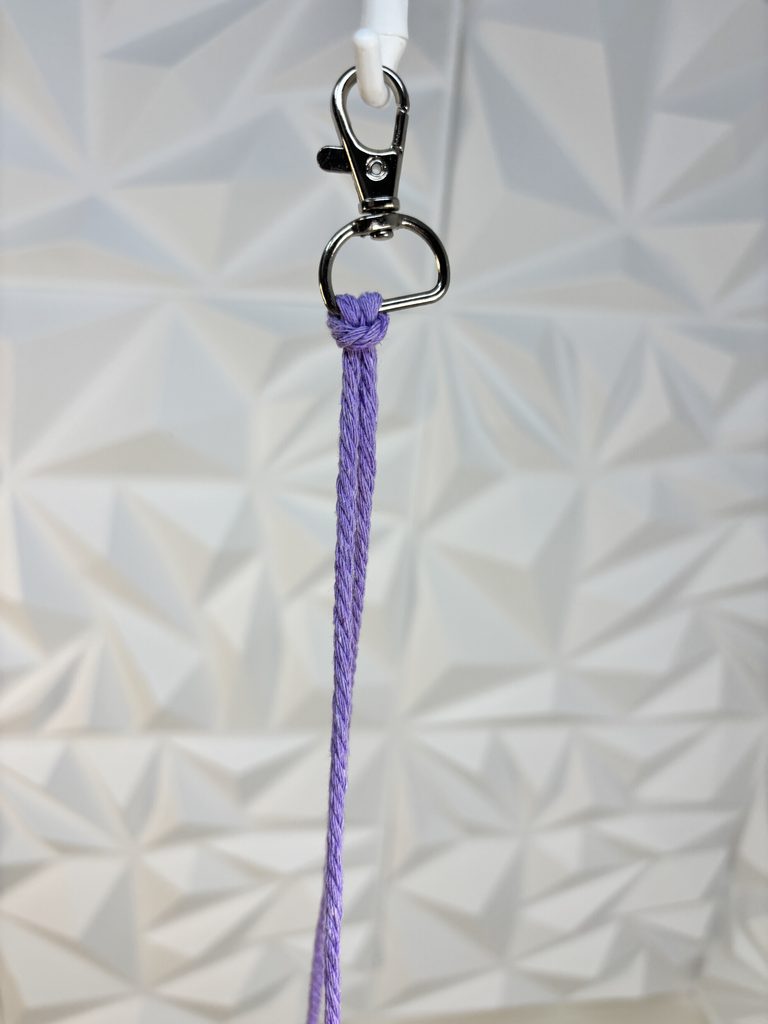
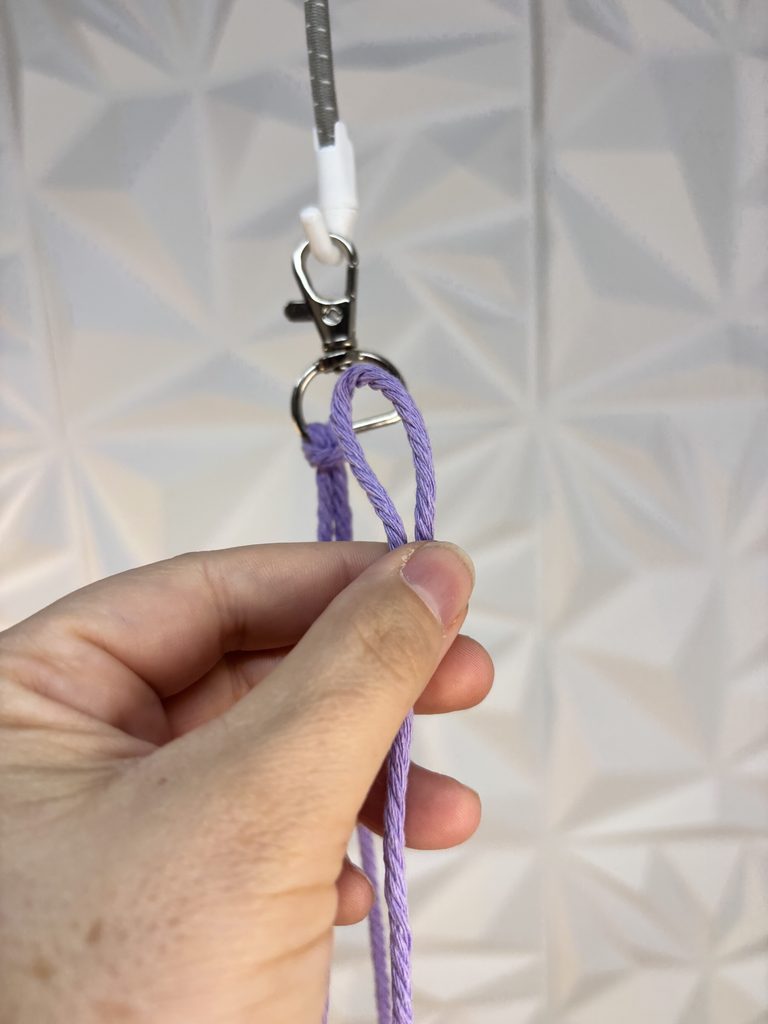
Take your first 98″ cord. Measure in about 24″ from one end (roughly a quarter of the way along the cord, don’t worry if it’s not exact) and fold it there. Place the fold through the key ring as a loop, then pull both loose ends through that loop and gently tighten. Position it so the short end sits on the right.
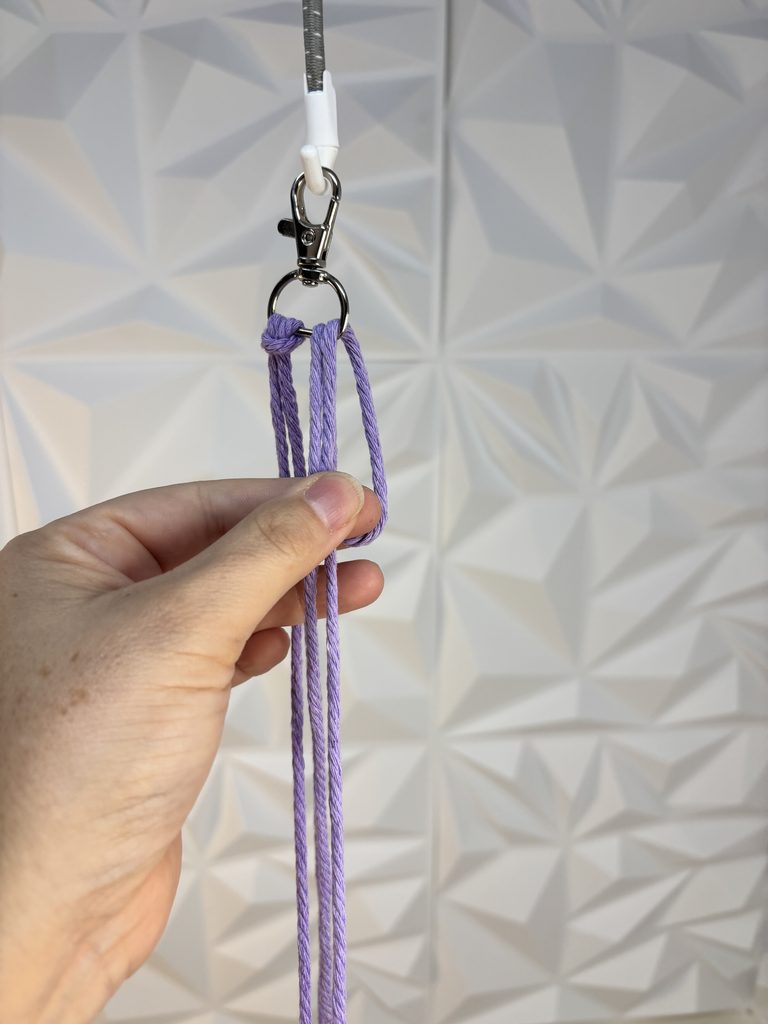
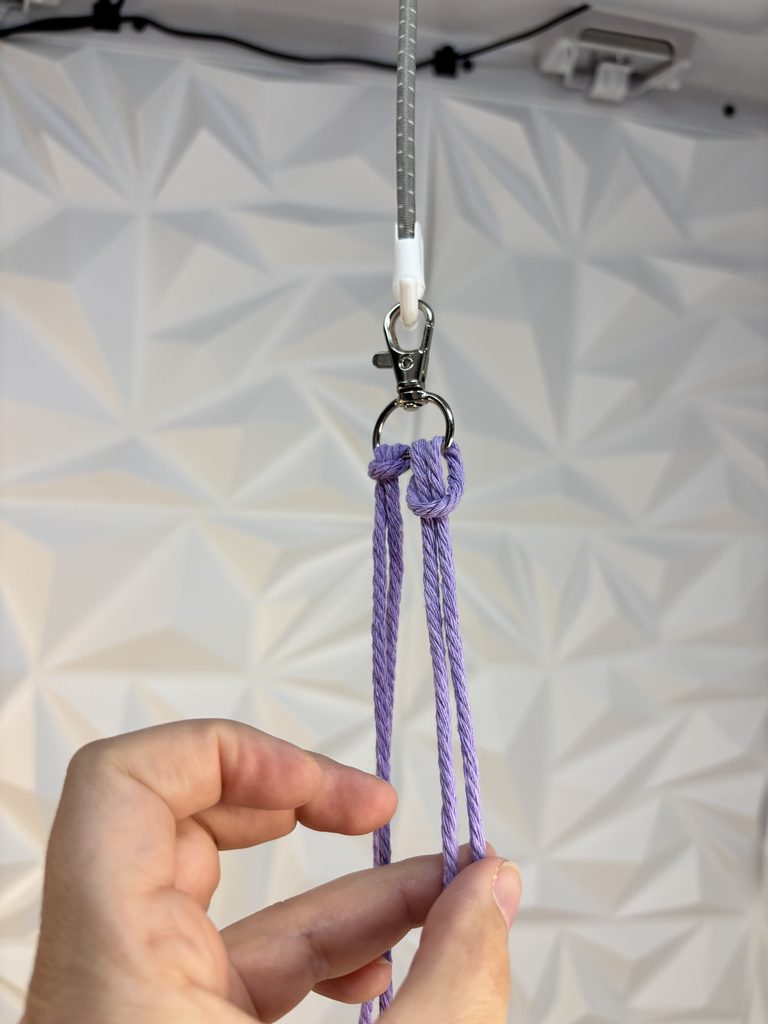
Take your second 98″ cord and fold it the same way, about 24″ from one end. Attach it to the key ring the same way, but this time position it so the short end sits on the left.
You should now have 4 cords hanging from the key ring: the two short ends meeting in the center, and the two long ends on the outside. Check that both center cords are roughly the same length — nudge the loops through the ring if you need to even them up.
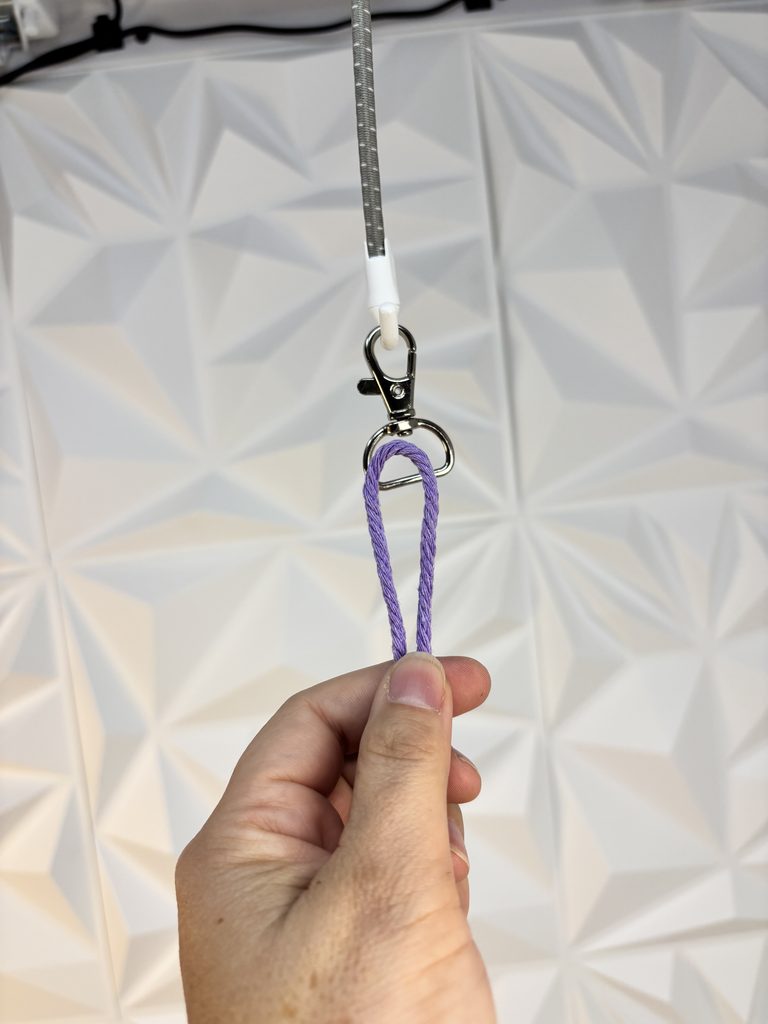
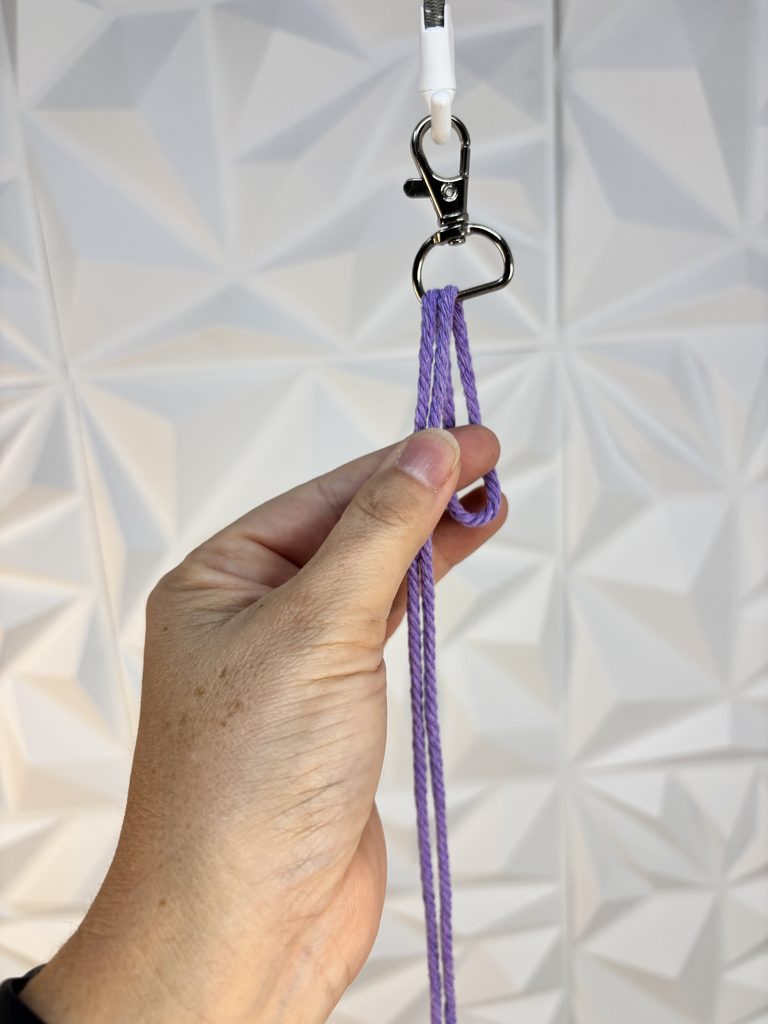
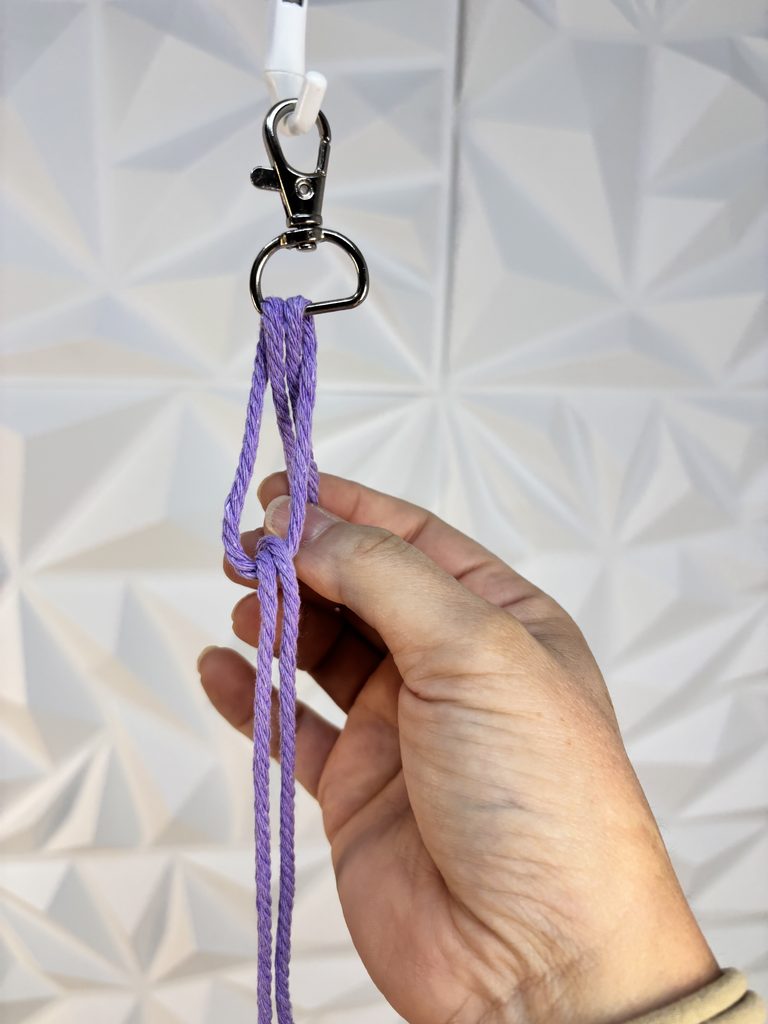
2. Secure your key ring
Use a small piece of tape to hold the key ring in place on your work surface. This will make knotting easier.
3. Start knotting
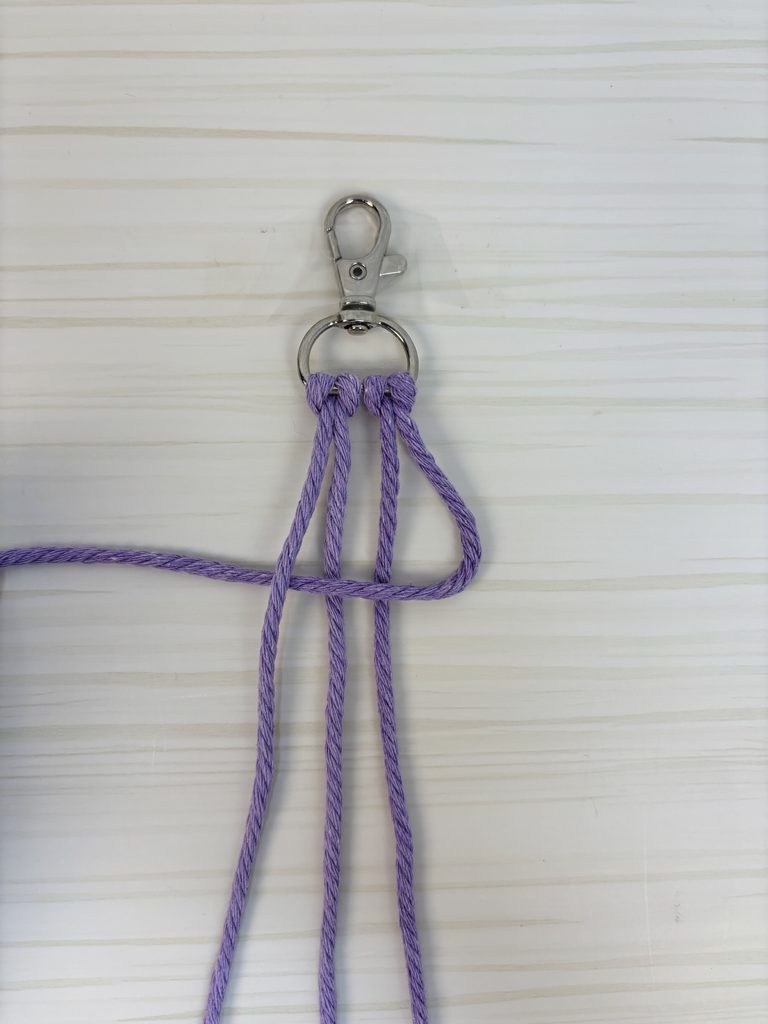
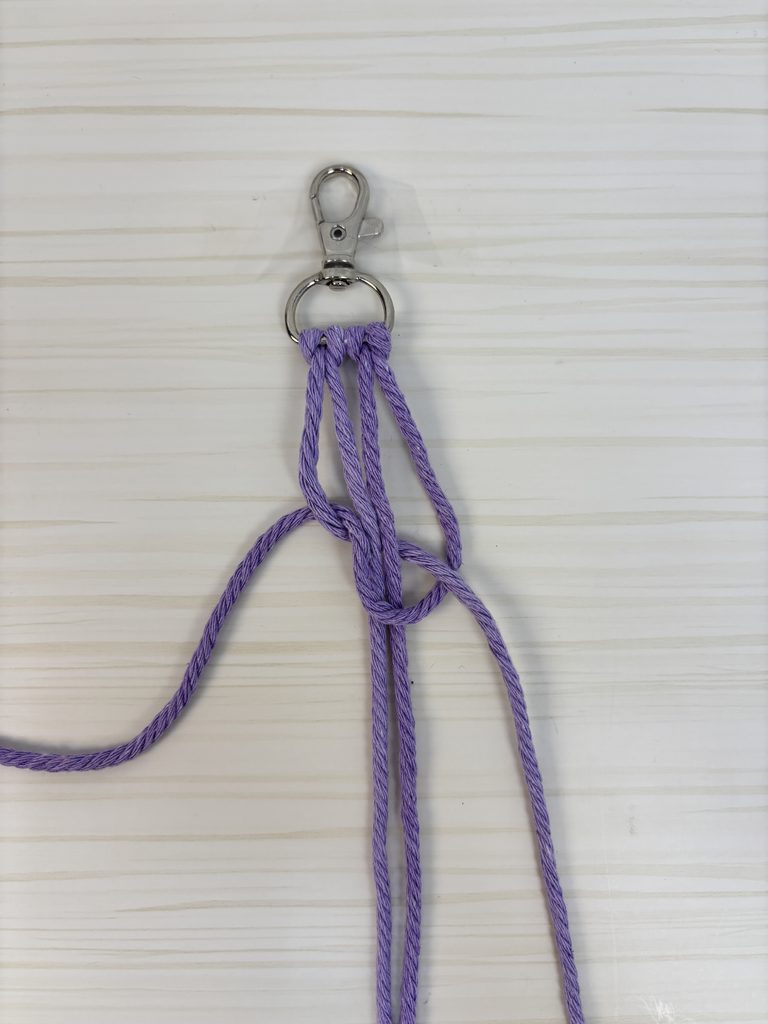
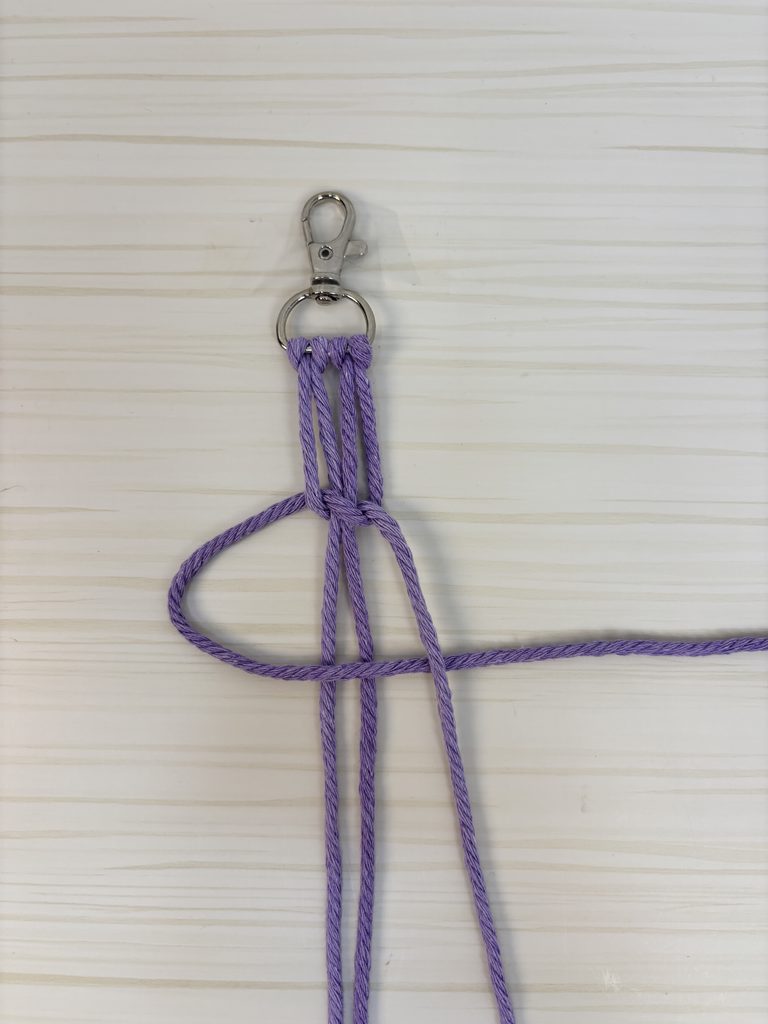
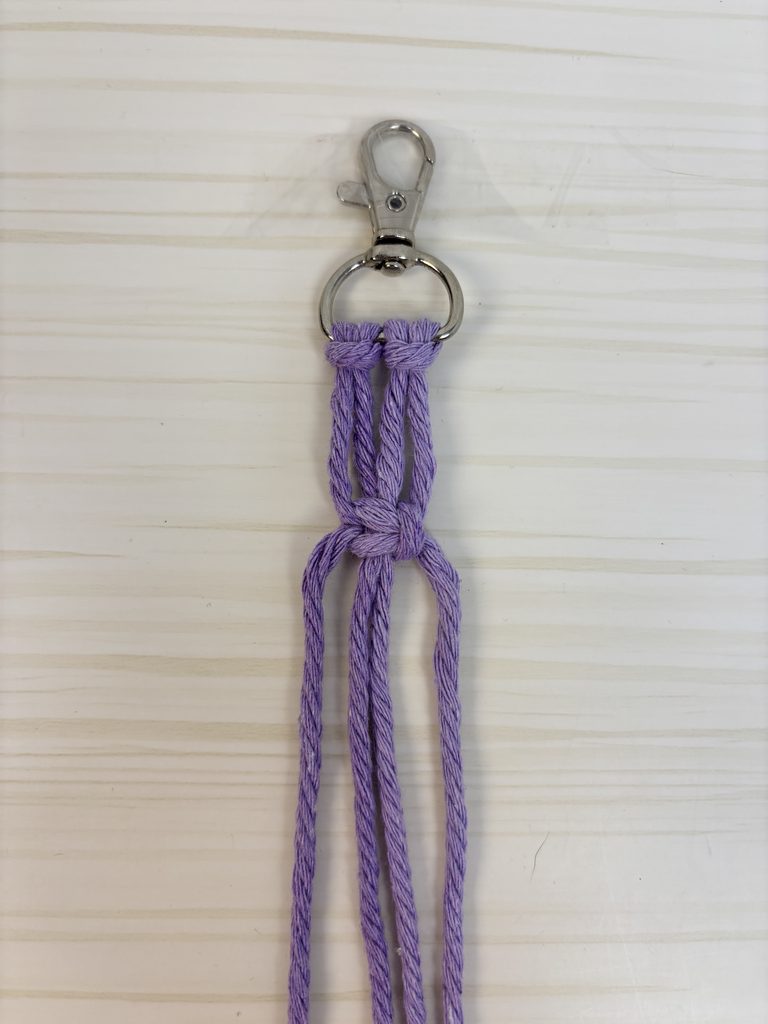
Starting a couple of inches below the key ring, use the two outside cords to tie a square knot around the two center cords.
To make a square knot, start on the left or right:
First half:
- Bring the left cord over the two center cords and under the right cord.
- Bring the right cord under the center cords and up through the loop on the left.
- Pull gently to tighten holding the center cords in place.
Second half:
- Bring the right cord over the two center cords and under the left cord.
- Bring the left cord under the center cords and up through the loop on the right.
- Pull gently to tighten holding the center cords in place.
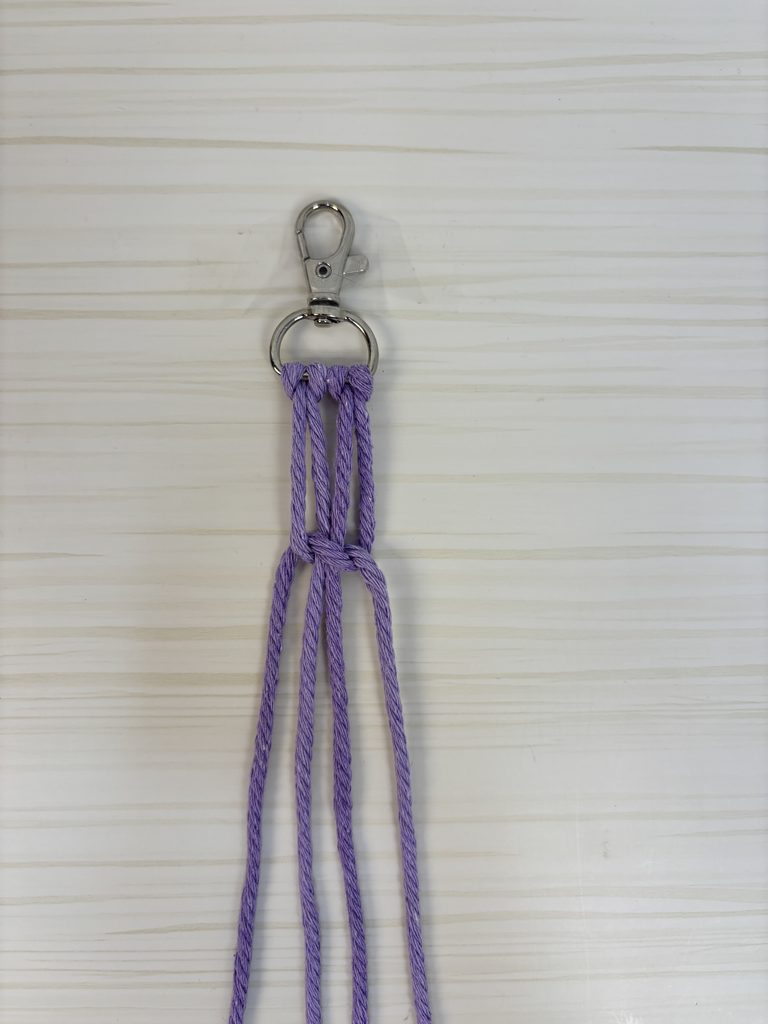
Both halves together make one complete square knot.
Pro tip: If you lose your spot, just look at your last knot — whichever side has the knot sitting on top is the side you start from next. If you mess up, just untie the last knot and start again.
4. Continue the square knots
Repeat the square knot down the length of the wristlet.
Keep your knots close together and try to keep the tension even as you work.
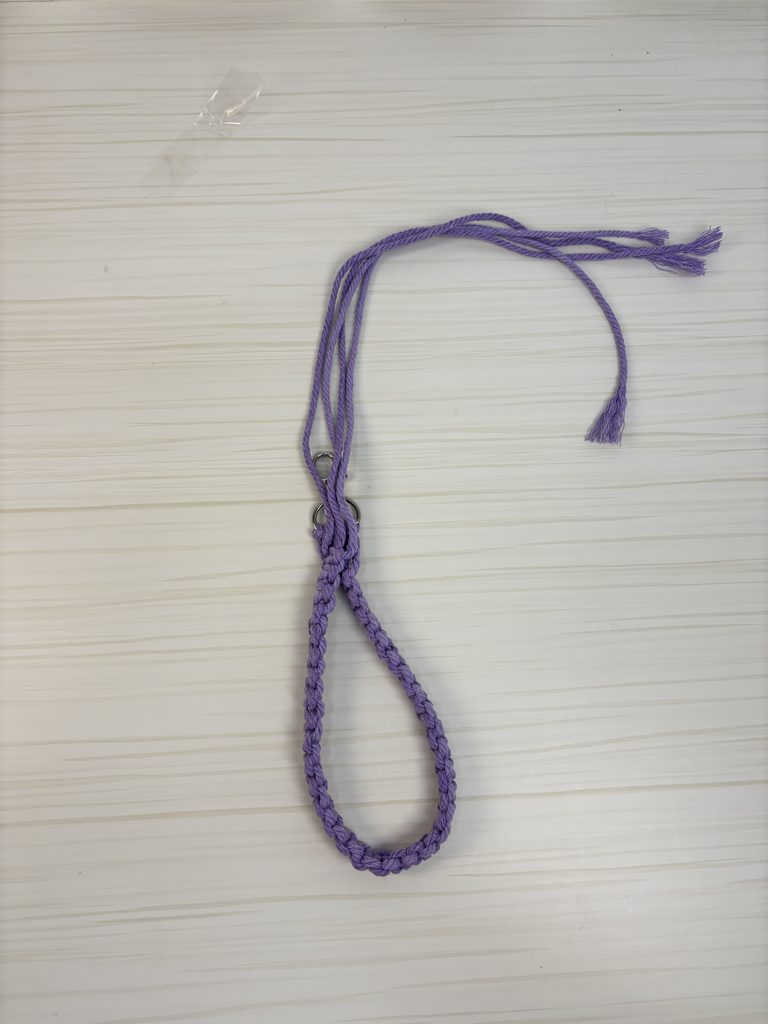
Continue until you have created a wristlet that feels comfortable to hold around your wrist, typical is 12-14 inches.
5. Fold the wristlet
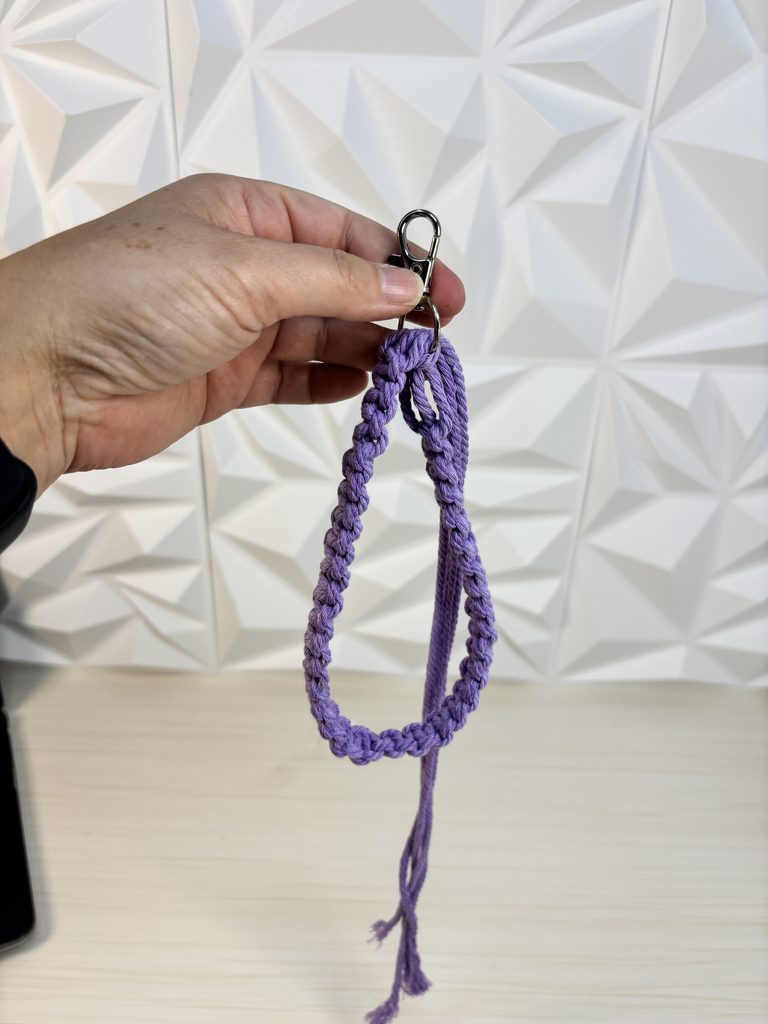
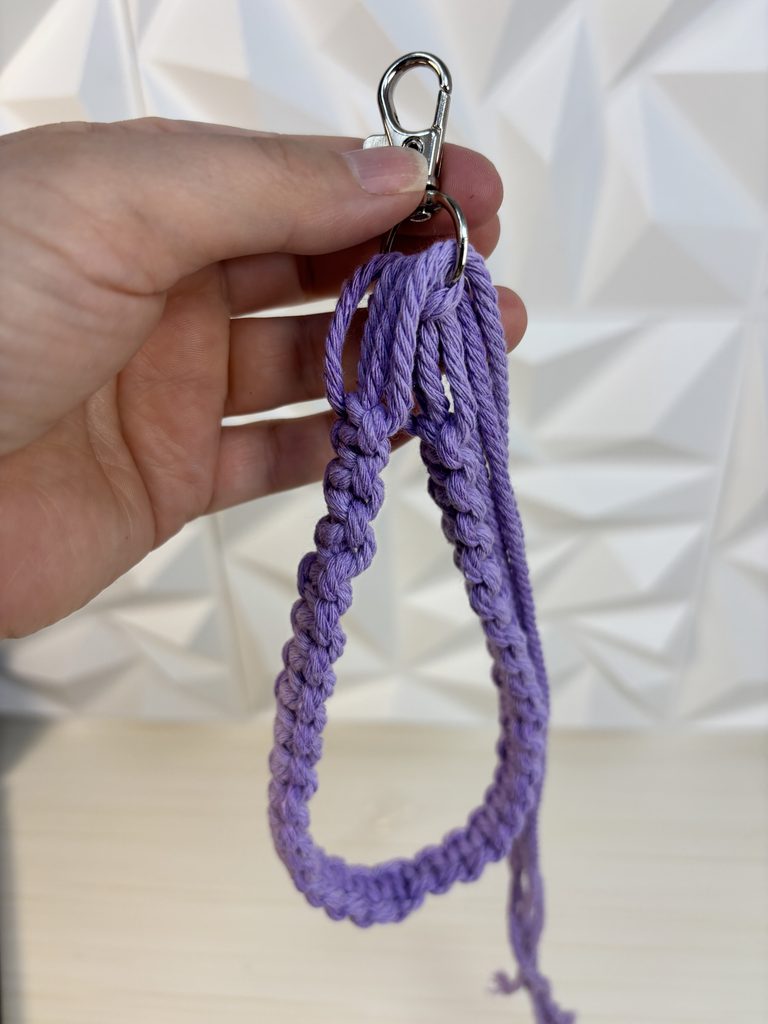
When you’ve finished knotting, fold the wristlet in half so the two ends meet near the key ring.
Make sure the cords are lined up neatly.
6. Secure the wristlet
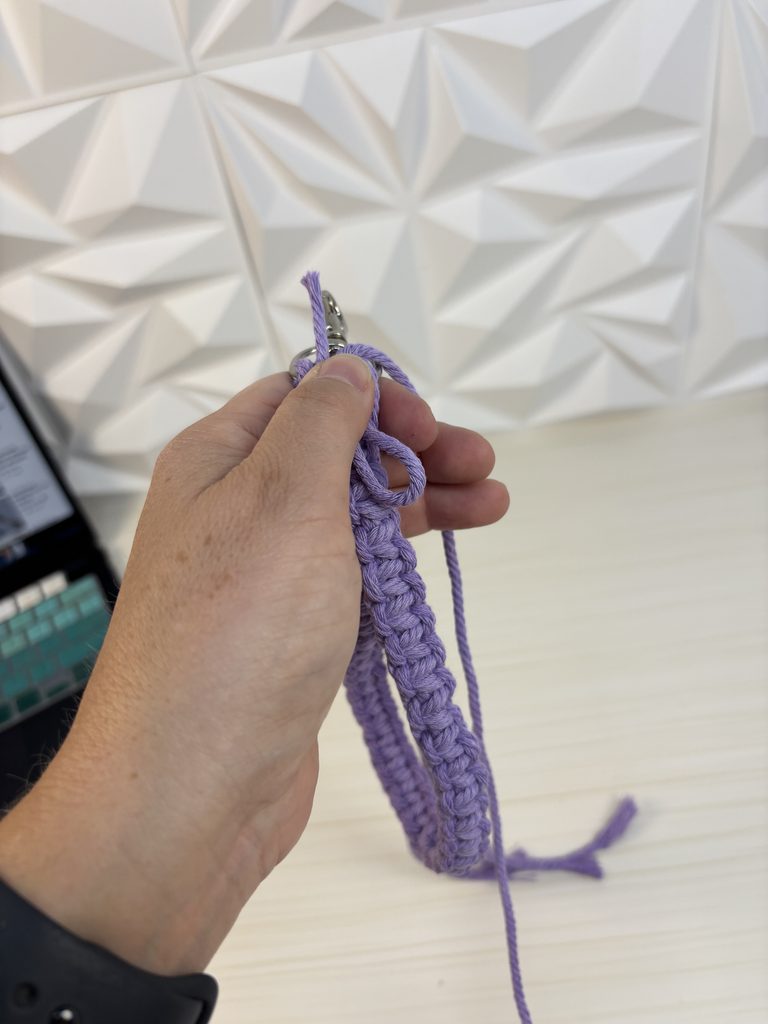
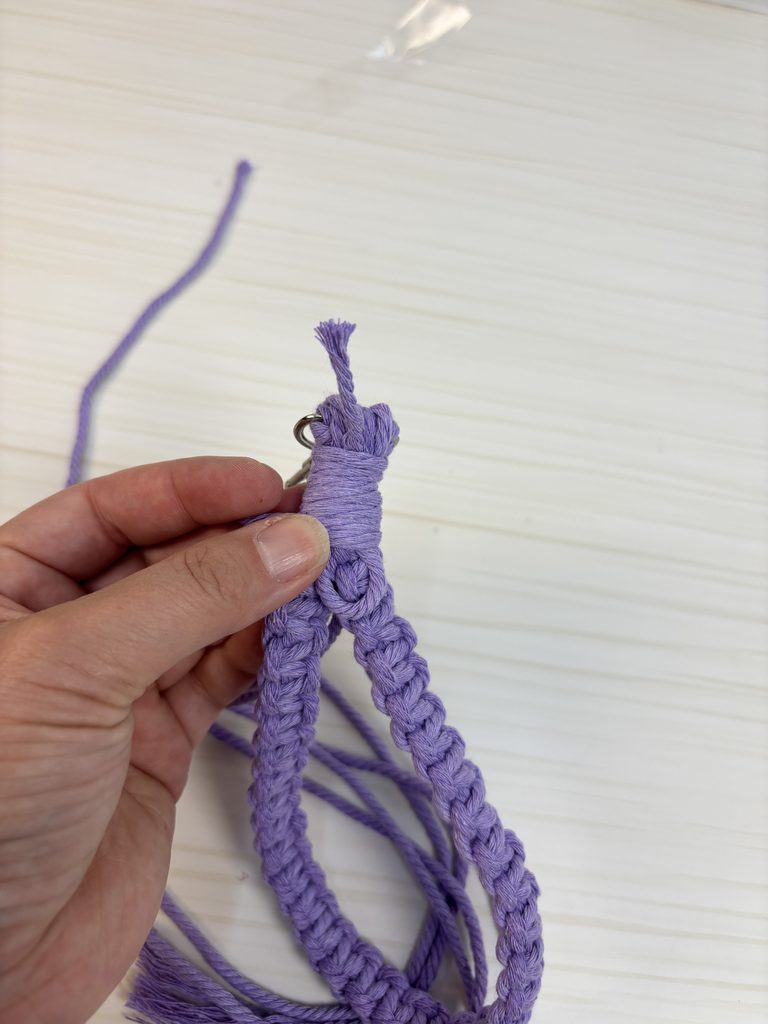
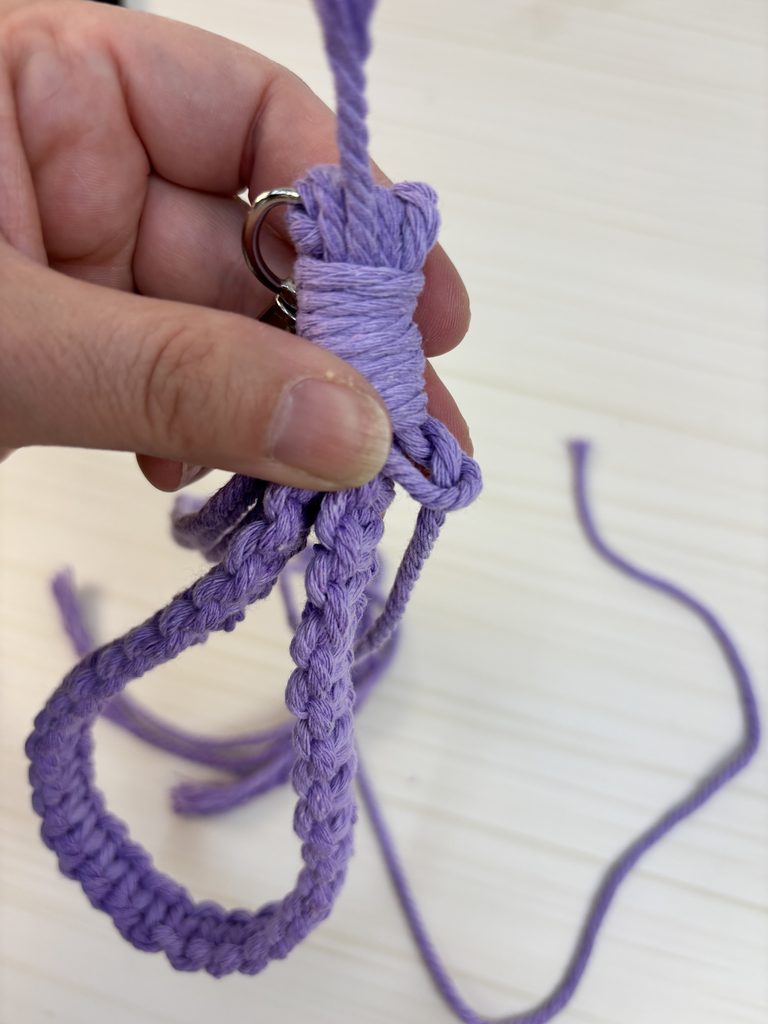
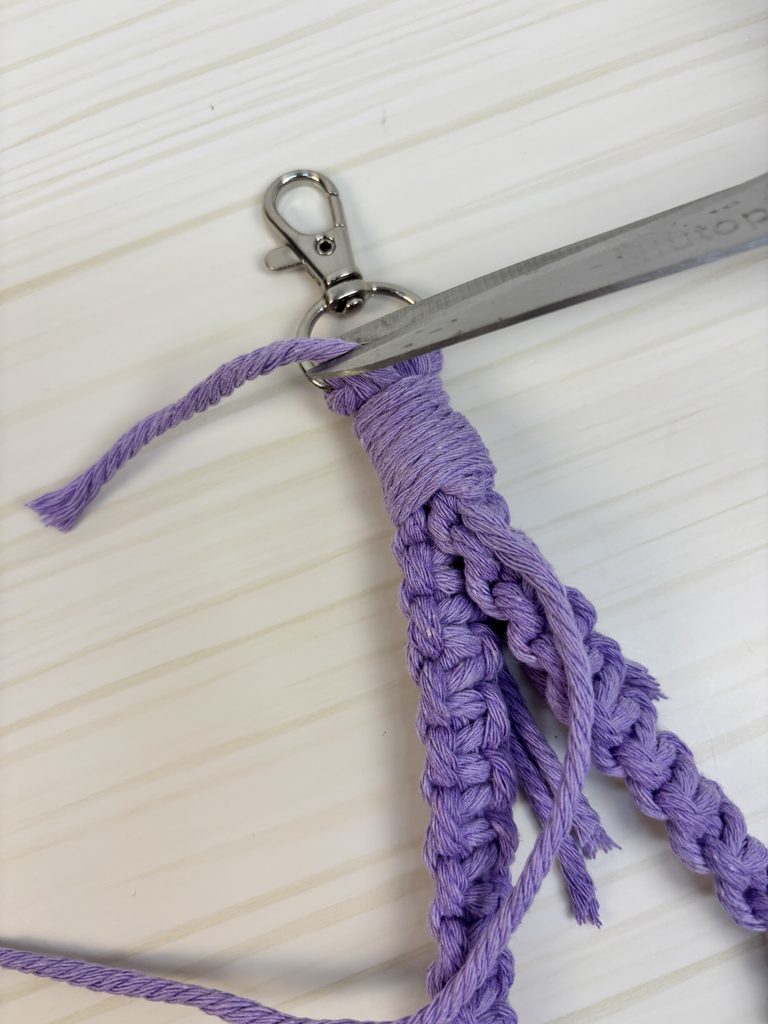
Take the short/finishing cord and make a loop with one end — at least the length of the gap you’re covering. Lay the loop against the folded cords, then, going around to the left, wrap the cord around and around, stacking each row snugly under the next. Wrap at least 4 times, making sure to leave the opening of the loop free (don’t wrap over it).
Once you’ve wrapped as much as you want, feed the working end of the cord through the loop. Pull the other end of the loop to tuck it up and back underneath the wraps, then pull tight to secure everything in place.
Trim each exposed end of the finishing cord close to the wraps — being careful not to trim the wrapped cord itself.
7. Finish your wristlet
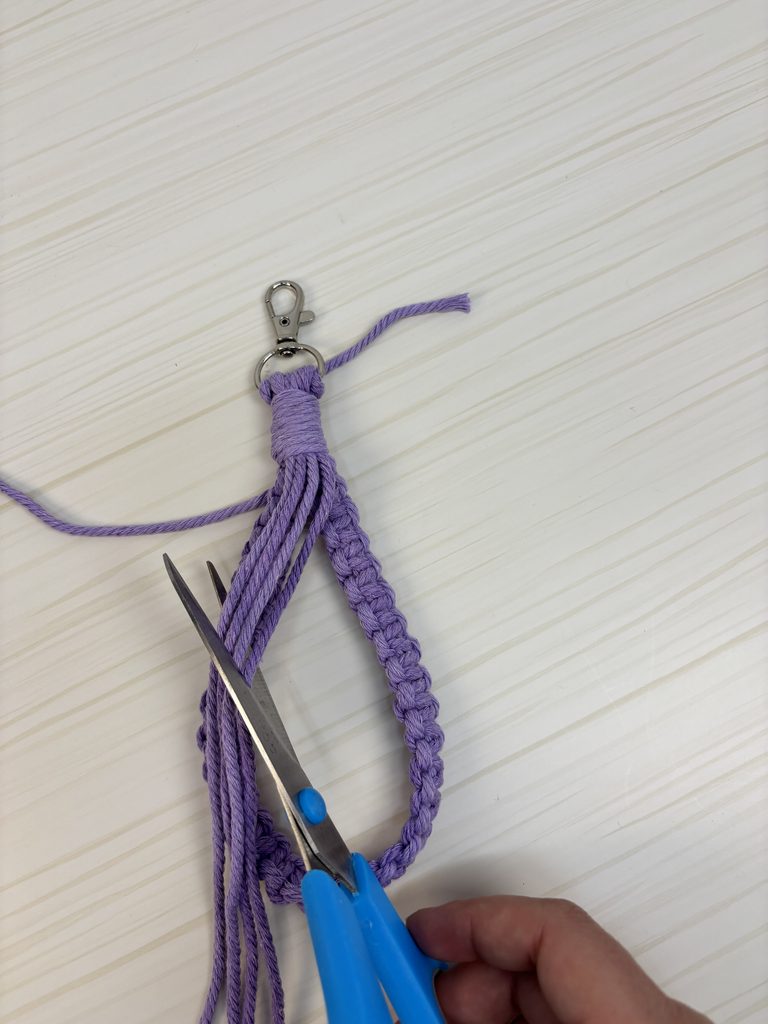
You can trim all remaining cord flush, or cut some of it to leave a fringe — whichever look you like best.
8. Add your inspiration!
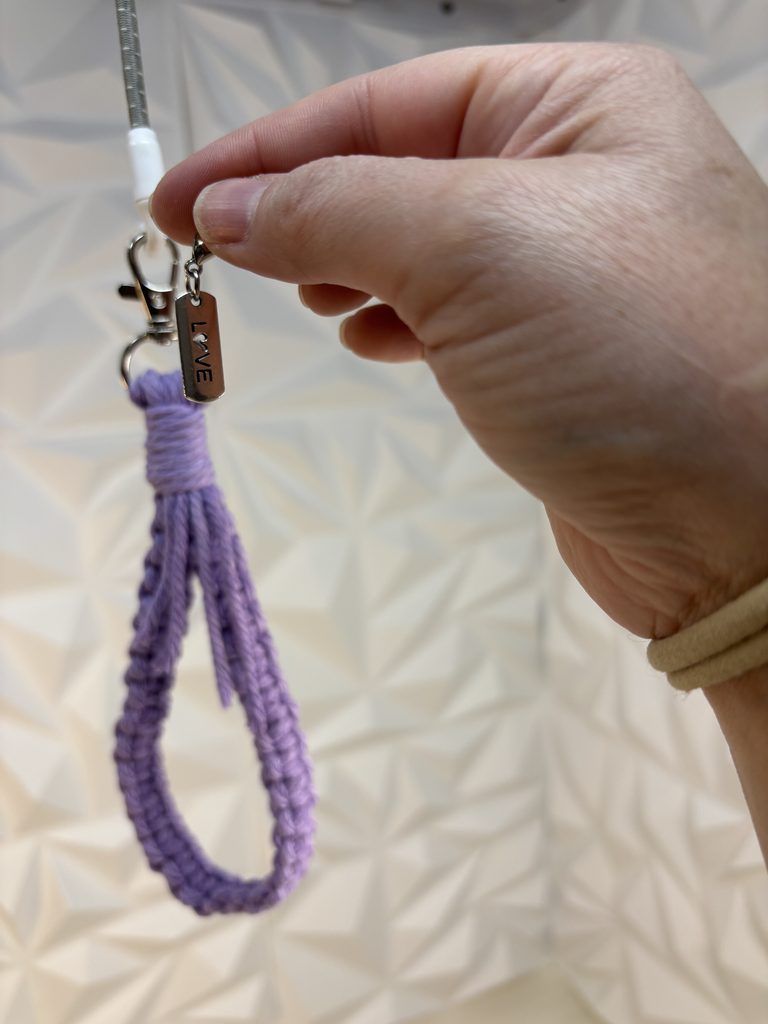
Add the inspirational charm to the key ring.
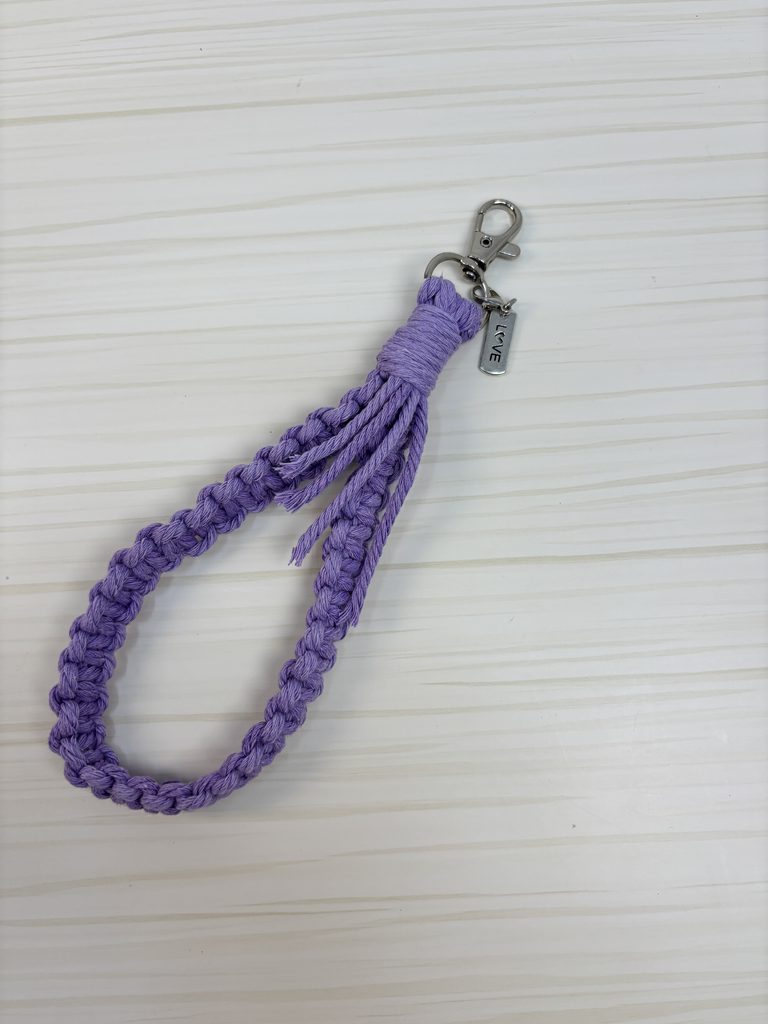
YOU DID IT! 💛
You’ve created your own macramé wristlet — a little reminder that doing good feels good.
